 Save to Pinterest
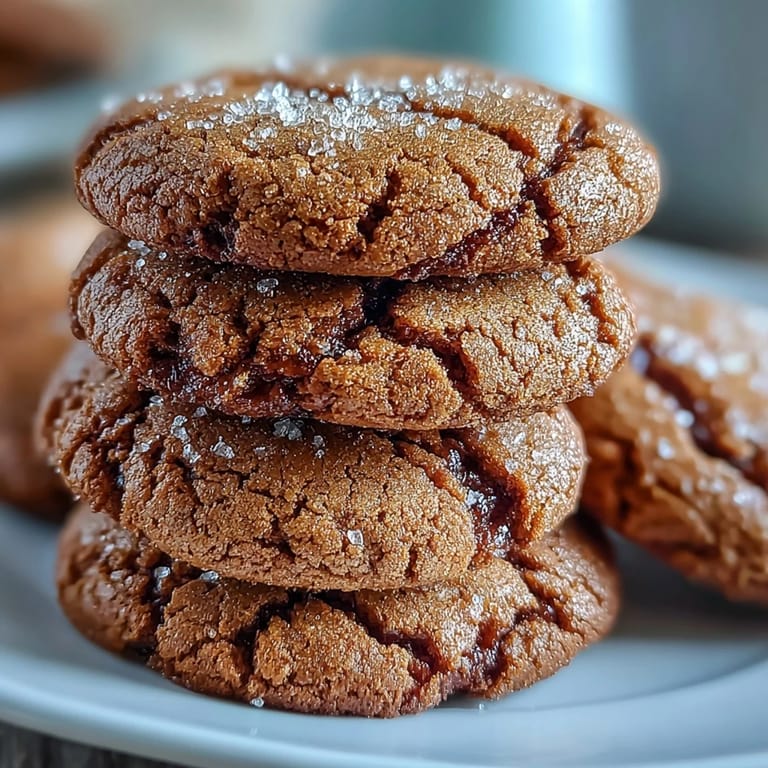
 The first time I burned butter on purpose, I thought I'd made a terrible mistake. But then that nutty, caramel-tinged aroma filled my kitchen, and I realized I'd stumbled onto something magical. I started playing with that browned butter, wondering what it would taste like paired with hojicha—that toasted Japanese green tea that always reminds me of autumn afternoons. These cookies became my answer, a perfect marriage of two things that shouldn't work together but absolutely do.
I made these for my neighbor last winter, and she came back asking for the recipe within two days. She said they tasted like something from a fancy Japanese patisserie, which made me laugh because my kitchen was honestly a mess that afternoon. But that's the thing about these cookies—they feel precious and intentional even when you're just throwing them together in your regular weeknight kitchen.
Ingredients
- All-purpose flour (2 cups/250 g): Use good quality flour if you can because it makes a difference in structure, and measure it by spooning into the cup and leveling off rather than scooping directly.
- Hojicha powder (2 tbsp): This is the star ingredient, giving you those toasted, roasted notes—hunt for it in Japanese markets or order online, and don't skip it because there's really no substitute that captures the same flavor.
- Baking soda (1/2 tsp): This is your leavening agent and also helps the edges brown beautifully, so measure it carefully.
- Fine sea salt (1/2 tsp): Use fine salt rather than kosher so it distributes evenly throughout the dough and doesn't create crunchy pockets.
- Unsalted butter (3/4 cup/170 g): You're browning this, so watch it carefully and use a light-colored pan so you can see when it turns golden.
- Brown sugar, packed (1 cup/200 g): The molasses in brown sugar adds moisture and depth, and packing it means you're getting the full amount of flavor.
- Granulated sugar (1/4 cup/50 g): This helps with spread and crispness at the edges, so don't leave it out even though the brown sugar seems like enough.
- Large egg and egg yolk (room temperature): Cold eggs won't incorporate smoothly, so pull them from the fridge 15 minutes before you start, and the yolk adds richness that makes these cookies feel luxurious.
- Vanilla extract (2 tsp): A good quality vanilla rounds out the hojicha and brown butter without overpowering them.
Tired of Takeout? 🥡
Get 10 meals you can make faster than delivery arrives. Seriously.
One email. No spam. Unsubscribe anytime.
Instructions
- Preheat and prepare:
- Get your oven to 350°F and line two baking sheets with parchment paper so you're not scrambling later.
- Brown the butter:
- Melt butter in a small saucepan over medium heat, then keep stirring as it foams and turns golden brown with this incredible nutty smell—about 4 to 5 minutes total. The moment you see it shift from golden to darker brown, pull it off the heat and let it cool for a full 10 minutes because pouring hot brown butter into your sugars will mess up the texture.
- Mix the dry goods:
- Whisk together flour, hojicha powder, baking soda, and salt in a medium bowl, making sure the hojicha is evenly distributed so every cookie tastes consistent.
- Combine wet ingredients:
- Pour your cooled brown butter into a large bowl and whisk it together with both sugars until it looks smooth and creamy. Add the egg, egg yolk, and vanilla, whisking until everything is fully incorporated and looks a little lighter.
- Bring it together:
- Add the dry ingredients to the wet mixture and stir gently with a spatula or wooden spoon until just combined—stop as soon as you don't see dry flour streaks, because overmixing will make them tough.
- Scoop onto sheets:
- Use a cookie scoop or tablespoon to drop mounds about 2 inches apart on your parchment-lined sheets, leaving them a little rough on top because they'll spread slightly and smooth out as they bake.
- Bake:
- Bake for 10 to 12 minutes until the edges are golden brown but the centers still look a tiny bit underbaked—they'll finish cooking on the hot pan as they cool. If you wait until they look fully done in the oven, they'll be too crispy.
- Cool properly:
- Let them sit on the baking sheet for 5 minutes so they set slightly, then transfer to a wire rack to cool all the way through, which takes about 20 minutes.
 Save to Pinterest
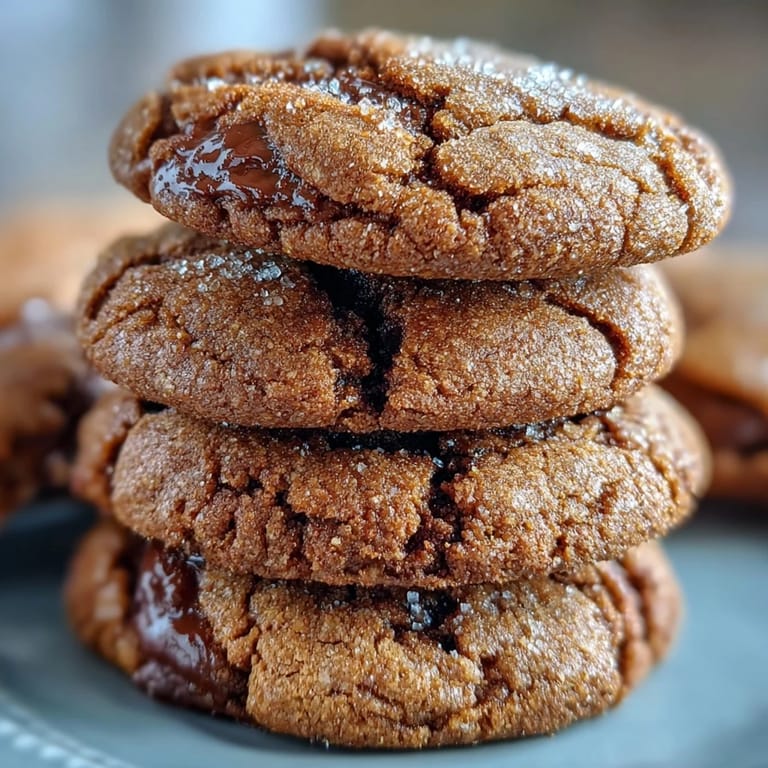
 There was this rainy afternoon when a friend stopped by unexpectedly, and I had a tin of these cookies cooling on the counter. We drank hot hojicha tea together and talked for two hours while she kept reaching for cookies without realizing she was eating them. That's when I knew they'd turned into something beyond just a recipe—they'd become the kind of thing that brings people together.
The Magic of Brown Butter
Brown butter is honestly a gateway to becoming a better baker because it teaches you to pay attention. The smell tells you everything—the moment it goes from melting to foaming to nutty to golden brown is all sensory feedback, no timer needed. Once you master browning butter, you'll start adding it to everything, and your desserts will suddenly taste like they came from somewhere special. The key is patience and a light-colored pan so you can actually see the color change.
Why Hojicha Changes Everything
Hojicha is green tea that's been roasted, which sounds simple but it transforms the flavor profile completely. Instead of the bright, vegetal notes you get from regular matcha, hojicha brings this warm, caramel-like earthiness that feels sophisticated without being intimidating. I've given these cookies to people who thought they didn't like tea-flavored desserts, and they always come back saying they can't place what makes them so good. That mystery flavor is hojicha working its quiet magic.
Storage, Variations, and Serving Ideas
These cookies keep beautifully in an airtight container for up to 5 days, and they actually taste a little better the next day when the flavors have melded together. You can make the dough ahead and refrigerate it for up to 48 hours, then scoop and bake whenever you want fresh cookies. They pair perfectly with a cup of hojicha tea, cold milk, or even black coffee that cuts through the sweetness. A pinch of flaky sea salt sprinkled on top right after baking adds a sophisticated salty-sweet contrast that people always notice. If you want to experiment, swap the hojicha powder for matcha for a more grassy, bright version, though the flavor will be noticeably different. You could also toast some chopped hazelnuts and fold them in to amp up the nuttiness, which works beautifully with the brown butter base.
- Sprinkle flaky sea salt on the warm cookies for an elegant salty-sweet finish that elevates the whole thing.
- Store in an airtight container at room temperature and eat them within 5 days for maximum freshness and chewiness.
- Make hojicha simple syrup by steeping the powder in hot water and brushing it on the warm cookies for an extra flavor boost.
 Save to Pinterest
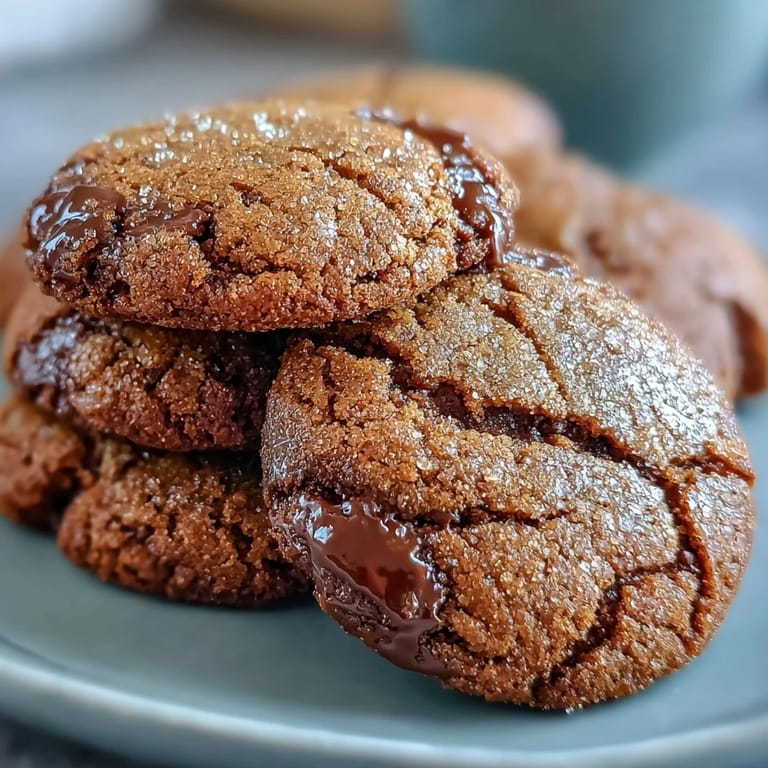
 These cookies remind me that sometimes the best things come from combining things that seem unexpected, like Japanese tea and French brown butter technique meeting in an American kitchen. Every time I make them, I feel a little like I've discovered something, even though it's the same recipe.
Recipe FAQs
- → What makes hojicha different from matcha?
Hojicha is roasted green tea with deep caramel notes and lower caffeine, while matcha is shade-grown and vibrant. The roasting gives hojicha its distinctive nutty, toasty flavor that pairs perfectly with brown butter.
- → Can I use regular butter instead of brown butter?
Regular butter works but you'll miss the nutty depth. Brown butter's toasted milk solids enhance hojicha's natural roasted notes, creating the intended flavor complexity.
- → Why chill the browned butter before mixing?
Hot butter would cook the eggs and ruin the dough's texture. Cooling to room temperature ensures proper emulsion and prevents spreading too much while baking.
- → How should I store these cookies?
Keep in an airtight container at room temperature for up to 5 days. The flavors actually deepen after a day. For longer storage, freeze unbaked dough scoops and bake fresh.
- → Can I make these dairy-free?
Substitute vegan butter sticks and brown them carefully. Coconut oil works but won't achieve the same nutty depth. Use a flax egg mixture for the binding.